
A Beginner's Guide to Meshtastic: Part 3
Deployment Scenarios and Lessons Learned

This is Part 3 of a multi-part series on Meshtastic. The first entry in the series, “A Beginner’s Guide to Meshtastic” can be found here.
In previous posts, we covered choosing a Meshtastic device and getting started with a simple peer-to-peer setup. But Meshtastic is best used in groups, whether they be temporary or permanent, private or public. In this entry, we’ll go over a few different scenarios where these deployments would work well. But first, let’s cover some important concepts.
Channels
Channels are traditionally thought of as a narrow band of radio frequencies on which to communicate, typically over AM/FM radio, TV, or handheld two-way radios. However, Meshtastic channels are completely different. Instead, think of them as “Encryption Groups” (Hat tip to Atlavox’s YouTube channel for this explanation). Messages sent in these “channels” are encrypted and relayed through the mesh, until their recipient node(s) receives and decrypts them. But it’s important to understand that these messages are still sent on the same frequency slot as all other messages. Therefore, a Meshtastic frequency slot is more akin to a traditional radio channel. The frequency slot you send all your messages over is automatically derived from the name of the Primary Channel and its encryption key. Out of the box, the Default Public mesh channel and key assigns Frequency Slot 20, so any secondary channels (encryption groups) will also communicate on that frequency. However, you’ll want to create a new channel and override your frequency slot in the LoRa settings. But why would you want to change this in the first place? Because of automatic position updates.
Automatic Position
As we previously discussed, your position is shared automatically over the Primary channel. While we took steps to minimize this in the last post, we can apply our newfound channel knowledge to use this to our advantage. Configuring your own custom Primary channel and adding the default public channel as a secondary channel allows you to automatically share your node’s location among the members of your private primary channel and disable position requests with the rest of the mesh, better maintaining your privacy.
Note: These settings are US-specific. Adjust for your region if outside the United States.
Settings > LoRa:
Region: United States
Use Preset: Long Range - Fast
Frequency Slot: 20
Save
Your node will reboot. Now, add your private Primary channel:
Name: <Whatever you want>
Key Size: 256 bit
Key: Generate a key to share with other members of your channel
Channel Role: Primary
Position: Enable as desired
Precise Position: Enable as desired
Then add the public channel:
Name: <Blank>
Key Size: Default
Key: AQ==
Channel Role: Secondary
Allow Position Requests: Unchecked
The Channel Name will be renamed to “Channel #“ where “#“ is its position in your channel list, starting at 1.
With this configuration, you can now communicate on the public channel without automatically giving out your position to the entire mesh. You’ll also want to disable new node notifications, unless you want your device flooded with non-stop notifications:
(iOS) Settings > Apps > Meshtastic > Notifications > Disable New Nodes
Now that that’s done, let’s explore some deployment scenarios...
Scenario 1: Go-bag Kits
In an emergency, Meshtastic radios can come in handy as a serve as a backup if cellular service goes out. Adding them to a Go-bag is relatively low-cost:
Parts list:
T1000-E (or handheld node of your choice)
Charging cable
Lanyard
Keychain hook
Total Cost: Approximately $50-$75 (depending on node choice)
Scenario 2: A Day Trip
The Setup
Earlier this year, I attended a local Renaissance Faire, which provided the perfect opportunity to test a temporary mobile mesh. I brought three Seeed Studio T1000-E’s and a custom RPI2040-based node with an external antenna, purchased from GarthVH on Etsy. I left the custom node in the back seat of our car (out of the sun, see Lesson #1) and plugged into a small battery, which was tucked under a front seat. Since the custom node had an external SMA antenna, I expected coverage to be significantly greater than the T1000-E’s on their own.
The terrain is best described as woodlands and dense forest, with several walking trails and multiple wooden structures throughout the park. The car node was parked in an asphalt parking lot, surrounded by other vehicles. At the furthest point, the group was half a mile from the car node.
Performance
Performance from the T1000-E’s to the car node was average, with dropouts occurring at several moments throughout the day. This can best be attributed to the car node being in a large parking lot, surrounded by lots of metal, at ground level. However, the handheld nodes performed well across large open distances with minor interference. Range significantly improved when the nodes were elevated from waist level to held above the head, although this was less than comfortable.
Lesson Learned #1
This first test was originally supposed to happen with a WisMesh Repeater Mini I preordered and waited for over a month to arrive. However, I committed cardinal sin #1: Leaving the WisMesh Repeater Mini on the dash of my car to charge via solar, in Summer. A car in the Summer sun can easily get up to 65 C/149 F, well above the operating temperature of both the battery and the solar panel. Although the solar panel survived, I couldn’t use the battery, and so it had to be replaced with another, purchased from Rokland.
Lesson Learned #2
When it comes to Meshtastic, height makes might. That is to say, range is significantly improved with altitude. While the handheld nodes were able to communicate with each other when unobstructed, communication with the car node was hampered by its placement and surroundings.
Lesson Learned #3
It’s important to note that at this point, we were on our own mesh, erroneously created by using a non-default Primary channel without overriding the Frequency Slot. Had we used the tips in the Channels section above, we would have joined any larger mesh in the area and potentially could have greatly increased our range.
Scenario 3: At the Park
The Setup
For our second test, we tried something a little less complicated. We placed the repaired WisMesh Repeater Mini behind the rear window of a car in a shaded parking area, walked out to several pre-marked locations, and sent messages between the handheld nodes. The terrain was mostly open and flat, with a roughly 10 foot increase in elevation at the fifth marker. All messages were acknowledged, meaning they were seen by another member of the mesh. Since this was a small private mesh, this meant one of our member nodes reported back the Acknowledgement and not another unaffiliated node.
Performance
First location: 1399 FT - Message acknowledged
Second location: 2211 FT - Message acknowledged
Third location: 2933 FT - Message acknowledged
Fourth location: 3510 FT - Message acknowledged
Fifth location: 3827 FT - Message acknowledged
Last location: 4284 FT - Message acknowledged
Scenario 4: A Neighborhood Mesh
You’ve set up your personal devices for daily use, configured a temporary mesh for a day trip, and may now be interested in setting up or joining a permanent mesh in your area.
The Setup
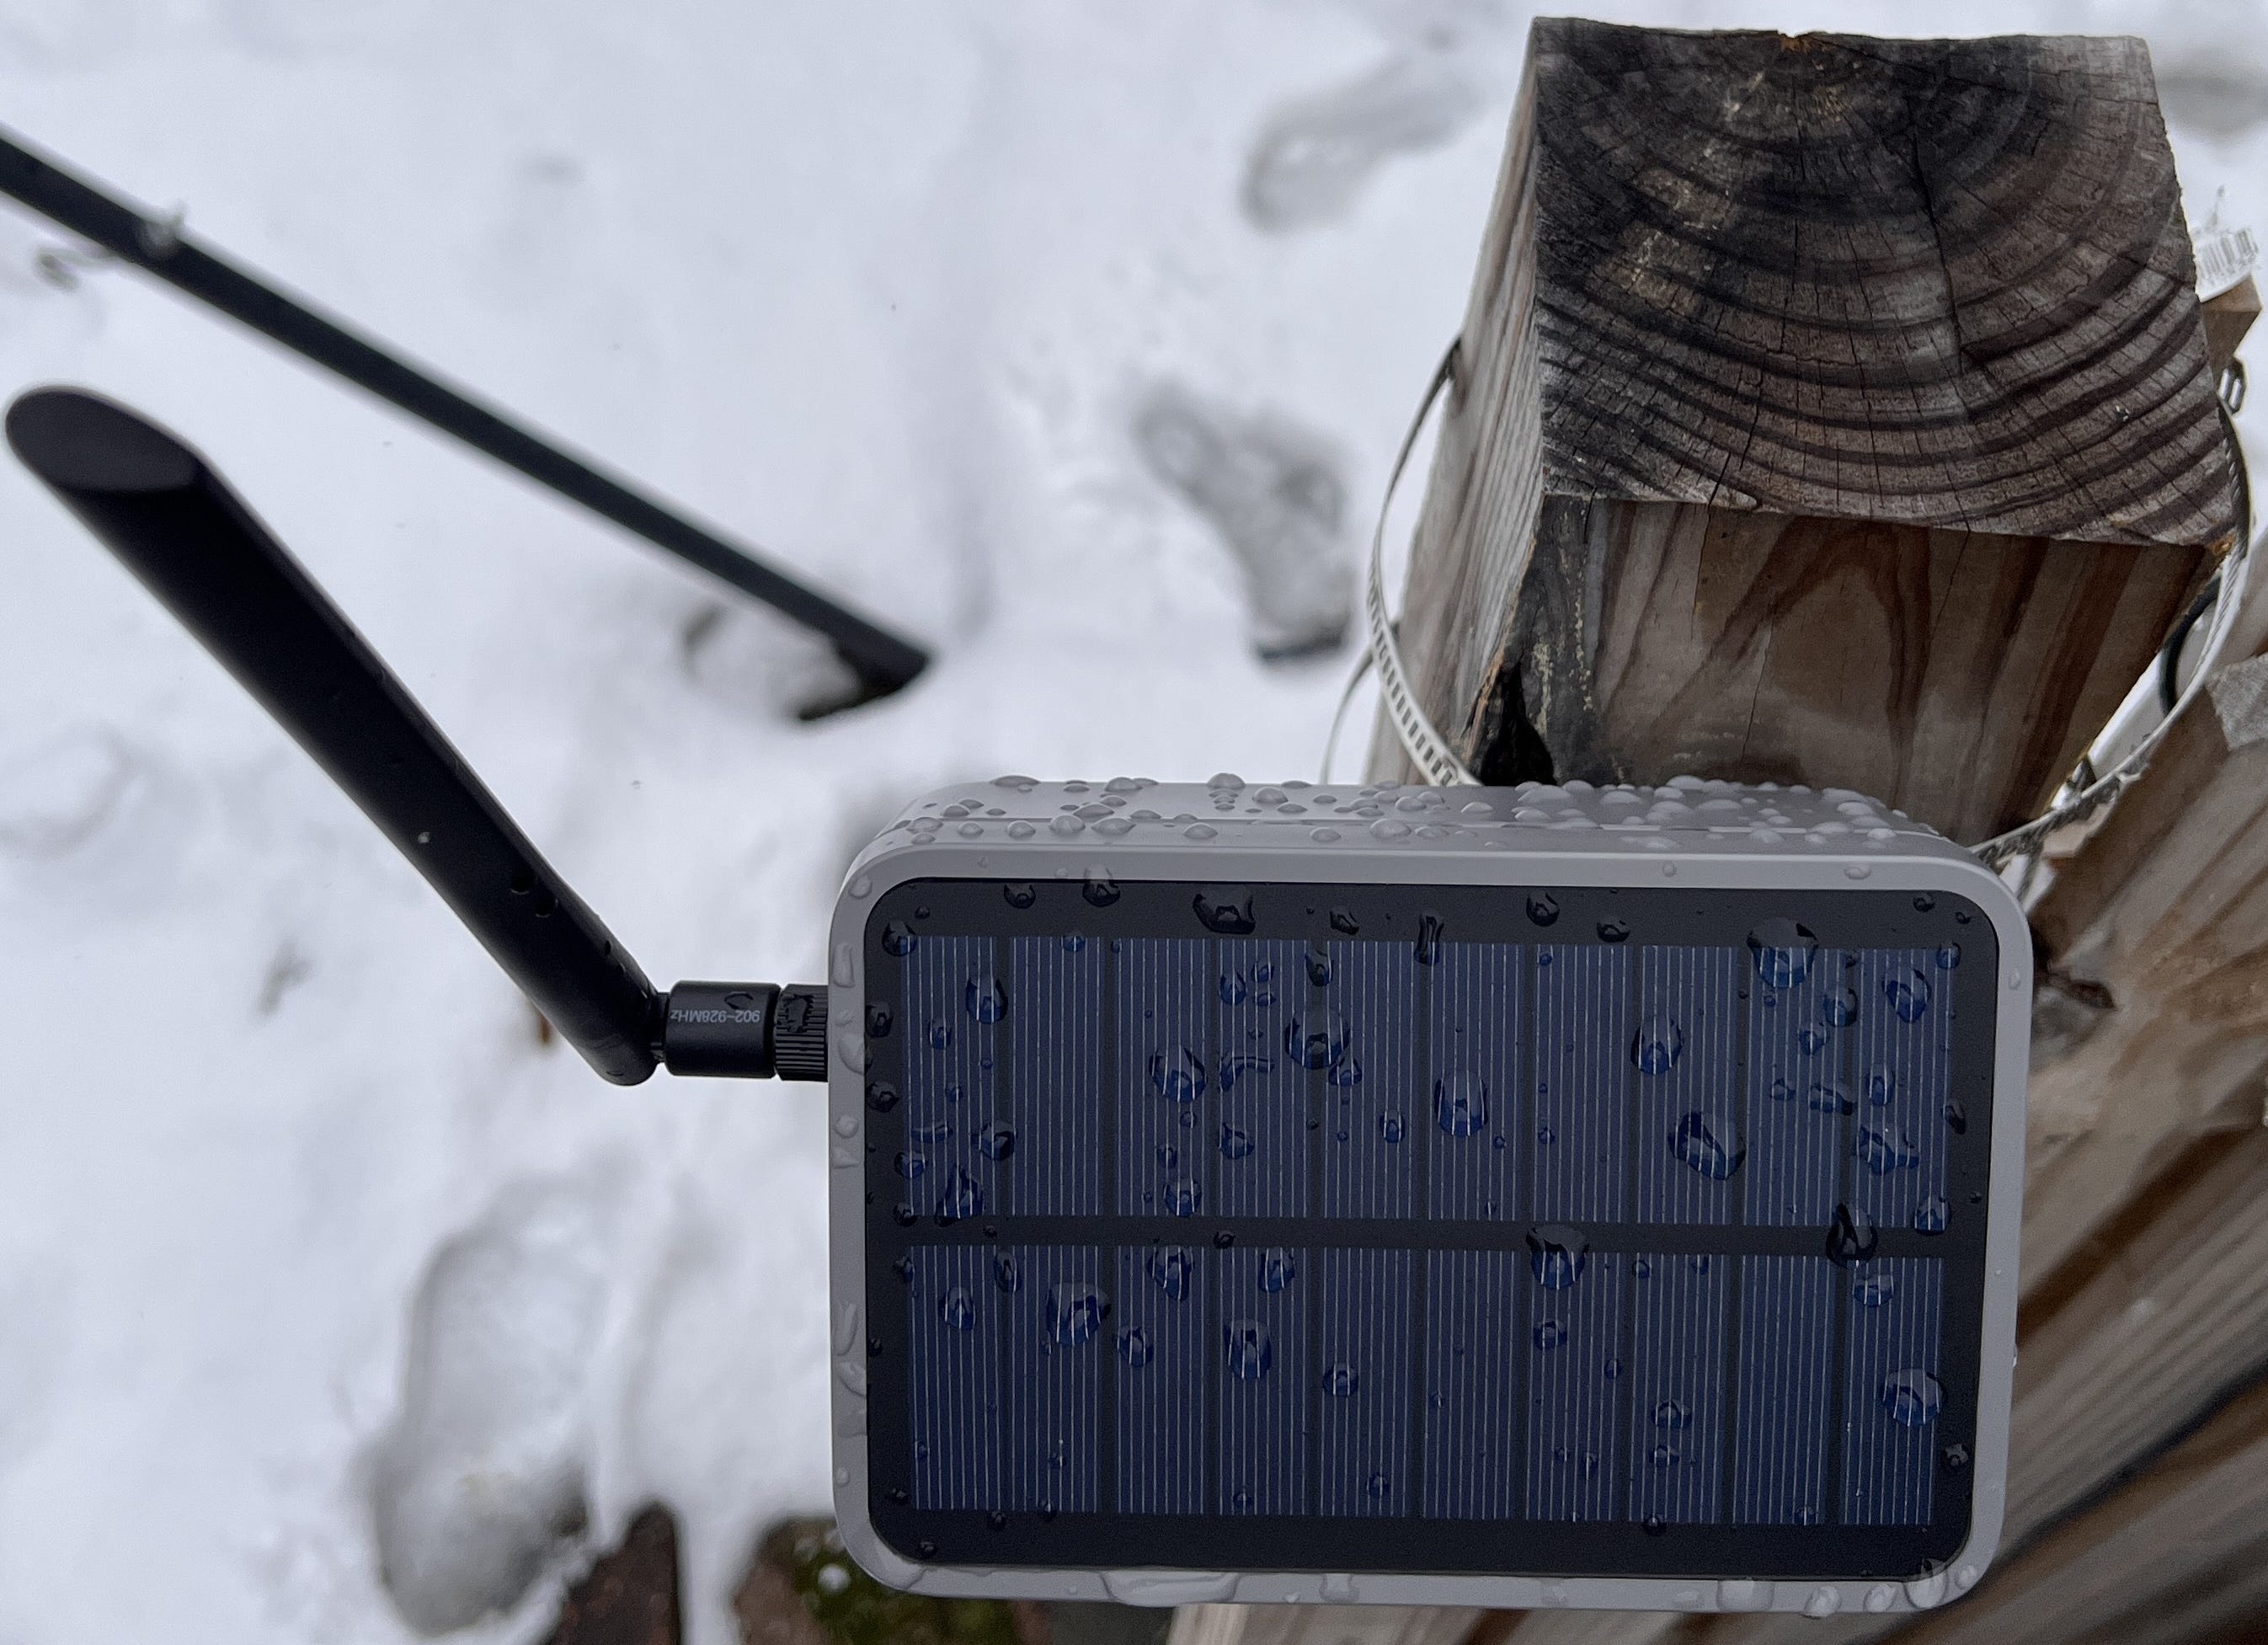
For our final scenario, we affixed the WisMesh Repeater Mini to a fence post with the Rokland mounting kit and angled it to the sun’s trajectory. This greatly increased our range and allowed our handheld nodes to communicate with nodes many miles away by relaying via this stationary node. While a solar panel isn’t necessary for a permanent deployment, it makes it a lot easier to set up a permanent or semi-permanent node. I chose the WisMesh Repeater Mini because it’s an all-in-one unit with a built-in solar panel and battery. The only time I have to remove it from the mount is when the firmware needs to be updated.
Lesson Learned #4
Pay attention to which way the screws on the mounting kit bands are pointing before threading them through the mounting post. Tightening the bands with your non-dominant hand while perched somewhere high is less than ideal.
Further Reading
Getting into Meshtastic has been a fun and relatively inexpensive way to learn about off-grid communication. I hope these guides have helped demystify Meshtastic and provided an easy way to get started with your own off-grid setup. However, these guides barely scratch the surface of how to use Meshtastic and there’s a lot more possible. If you’d like to learn more, the Meshtastic Discord server is a great resource and community to connect with others. If you’re interested in building your own unit or just doing a little more research, the Meshtastic subreddit has lots of unique and interesting homebuilt units and mounting methods.
Sources: